I dove right into Secret garden the night I got it in the mail. I started with a 10-pack of Stadtler fineliners and some Inktense that I had at home. I dodn't give much thought to shading, color palette or anything fancy like that. Pretty soon I discovered Pinterest and the crazy amount of colouring inspo there, and I understood that I wanted some colouring skillz. I realized I wanted more than to just randomly colour inside the lines, and I quickly became unhappy with this first page. But in stead of scrapping it, I decided it would become my training/testing page. Handy in the start of the book, it now contains my first attempts at shading, swatches of new supplies, a go at the background thing and everything in between. I will continue using the spread for testing/training purposes and I'm sure it will be beautiful in the end, in a psychedelic sort of way.
Monday, March 14, 2016
Enchanted Forest, Swedish edition
A while back I purchased my second Johanna Basford book, Enchanted Forest. Most Swedish bookstores only carrry the Swedish edition but I never thought this would be a problem.
The Swedish edition is published by Pagina, the same publishing house marketing Hanna Karlzons Dagdrömmar. Dagdrömmar has ecxellent paper quality and is overall a lovely book altogether, not only illustration wise but as a physical book as well.
Enchanted Forest however, was a huge dissapointment. My Secret Garden is from the US but published in England and printed in China. It has to this day the best paper of any of my books. I can safely use any water-based media without so much as a shadow of bleeding, and it even holds some water on my Inktense pencils without getting all wobbly. So naturally I was expecting the same quality from the Swedish edition of Enchanted forest. The photos speak for themselves... you can clearly see the designs not only from the next page but from the next spread, so 2 pages apart. There is also near-bleeding jsut from Staedtler fineliners (and I'm a light handed colorist.)
I contacted Pagina about this and they said they'd look into the matter but I haven't heard from them since. I am keeping my Swedish Enchanted Forest as a training copy of if someone wants to borrow a book to try out colouring... and for myself I ordered the English version which again has excellent paper. A shame that quality varies so much locally!
![]() |
Bleeding :( |
![]() |
Visible design from 2 pages over |
Welcome Spring!
March is a particularly difficult month for me. Having lived in Hungary for several years I got used to Spring arriving in early March, with the trees starting to turn green at the turn of March/April. In these parts of Sweden March is still very much a winter month, although the snow is mostly gone and you can start seeing some fresh green moss for example. Still the temperatures are barely above freezing and there will be several minus degree days yet. Therefore I tried to colour the moth of March as cheerful as I could, with all sorts of pastelly colours.
![]() |
Mad sketching skillz! |
I also included a small freehand drawing project. Since March 15 marks the anniversary of the Hungarian revolution in 1848, which is one of three Hungarian national holidays, I added the symbol of this holiday to the calendar: a cockade in the Hungarian colours red, white and green. I had never drawn such an item before so I started with looking one up on the internet. There I traced the outlines onto a bit of tracing paper that I then transferred onto a sketch pad where I experimented a bit with colours and shading. I finally transferred the sketched outlines onto the calendar page and proceeded with colouring it in. Considering my drawing skills and particularly the fact that I haven't practiced drawing for many years (or let's be honest, I have precticed drawing NEVER), I'm really quite pleased with the end result! It looks so much nicer in real life too.
The tree is coloured in Faber-Castell Pitt Artist brush pens, and the cockade in Polychromos.
Sunday, March 13, 2016
Crafty post: pencil holder cups from IKEA!
Since we're recently moved into our house, we spend a considerable time at IKEA. Like most people we remember we need something about once a week so we end up making IKEA runs pretty frequently. My colleagues ask me every Friday: so, did you go to IKEA last night? As Thursdays are our usual shopping nights :)
On one of these runs I discovered these glasses that turned out to be the ideal pencil holders! I love that they are simple and clear so I can see the whole pencil/pen. I love glass as a material, I think it looks so luxurious the way it reflects the light. If I could I would have glass panes on every bookshelf and kitchen cabinet in the house.(Actually thinking about it I DO have glass panes on all the bookshelves!) These glasses will comfortably hold any set of 24; larger sets than that I keep in their tins. Also my "fancy" coloured fineliners, the Staedtler Triplus, I keep horizontally. For everything else ther is Masterc... these glasses!
They are called 365+ and come in two sizes, a taller and a shorter size. Personally I prefer the shorter ones as they show more of the pencil and I like how the pencils sort of spread out in the short ones. But to each his own! The best part is that they are really inexpensive, 29kr for the small and 39 for the large, that is for a set of 6. A perfect bargain especially considering that art stores charge you big bucks for really ugly pencil holders.
I spent last night pimping a couple of them, I even made an Eastery one. I used decoupage paper, regular paper napkins, satin ribbons and a decoupage gloss. They turned out a bit not-so-perfect but for my craft desk they will do just fine!
Monday, March 7, 2016
Colouring Calendar and F-C Pitt artist pens
Just a quick page tonight before bedtime, from Jenean Morrison's 2016 colouring calendar. It's a tome! Nearly A4 size and thick as a phonebook. I'm mainly using my 48 set of Faber Castell Pitt artist pens, with the brush tip, for this book. I'm also working on a review of these pens as there is very little online in way of blog posts or youtube videos about them! I'll show you how you can use them for shading and what sets them apart from other markers. As I'm a bit fussy with the photography bit I'll have to wait until the weekend until I can shoot proper pics for the review and perhaps also a small video about shading and combining with other media. We'll see! For now, let's see if I can finish some more pages in this bible. I'm lagging behind to say the least, I have coloured just one more page since New Year's. I think I might have too many books! .. said no colourista ever :)
I'm also working on the March page of the Secret Garden wall calendar. The design itself is finished but I want to add a detail to commemorate the national holiday of Hungary that's coming up in a week.
Sunday, March 6, 2016
Colur along challenge!
In one of the lovely groups I belong to, the Daydreamers, there was a colour along event. If you own and love Dagdrömmar, you should definitely join this group! You can even join in on this current event as it will run for another couple weeks or so. :)
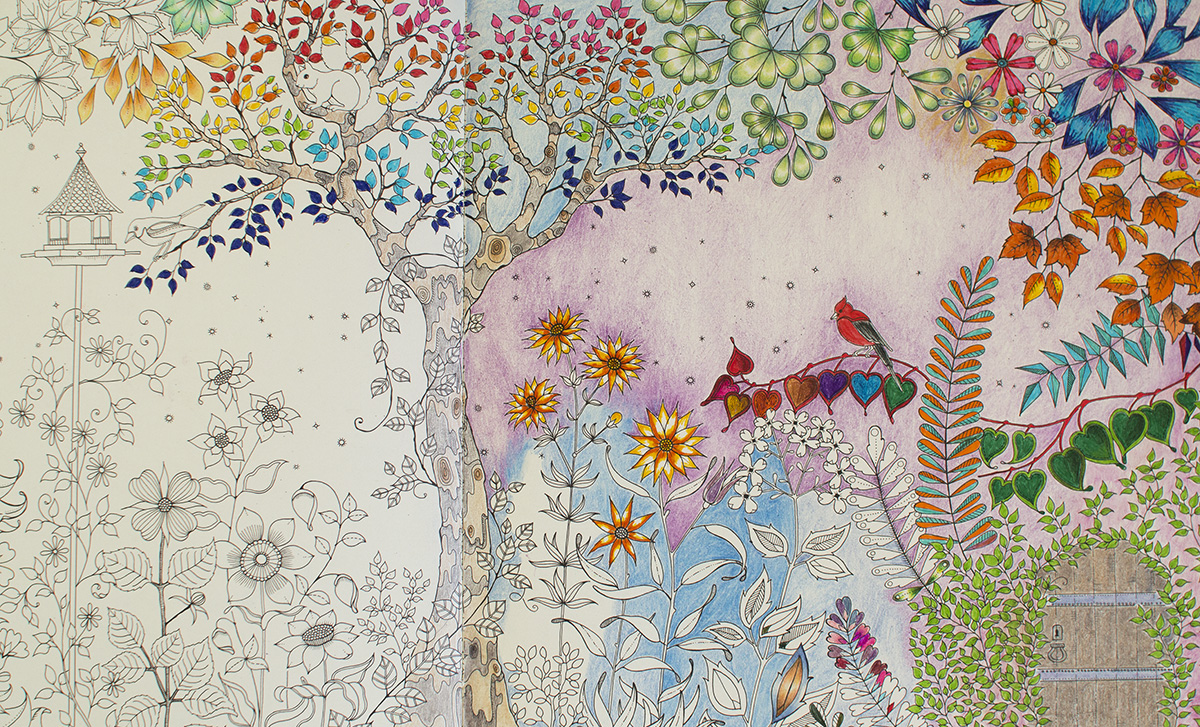
We could choose from two images and were given a limited, pastelly colour palette plus a couple of darker hues for shading only. It was quite a challenge because as much as I liked the palette itself, I had problems with both images. The jellyfish I wanted to save for a different colour palette, with more bright and aquatic shades. And the dragonfly isn't my favourite design in the book to say the least... I just wasn't feeling it for some reason. Also I have seen so many gorgeous dragonfly colourings, especially from Enchanted Forest, that I was certain I wasn't going to do it justice.
The beginning of the project was a real struggle. I wasn't feeling the colours and it just didn't look right. To bring the colours together, in desperation I grabbed a chalky white pencil from the Derwent Drawing set and went over the whole dragonfly with it. It proved to be a vast improvement as the colours now looked much more coherent. Yay me!
On the body of the dragonfly I wanted to keep the black outlines so after I was done with the white pencil I took a black pen (the Faber-Castell Pitt artist pen in size Small) and inked the outlines I wanted to keep back in. Here are photos of the white pencil and then the bits I inked in afterwards.
In the bottom picture you can see how I coloured the wings as well. The whole wing was then covered with the white pencil but on the wings I didn't bother inking the outlines back in as I wanted a sortof see-through iridescent look for the wings. In the group some people did an amazing job creating real iridescent effect using colourless glitter pen over the wings, but as I don't possess such a tool I had to come up with a solution of my own. I think it turned out OK, especially for being a design I didn't much care for from the beginning.
The flowers proved to be another challenge. Making the "petaly" flowers pink and blue was sort of obvious but what to do with the round ones? At first I used a pale greyish green. To say the least this wasn't a success. The green colour looked so incredibly off next to the pink dragonfly and blue-pink flowers. In the end I ended up taking an eraser to the green and lifting off as much of it as I could without messing up the paper. Fortunately the paper in this book is really really good so I actually got away with erasing coloured pencils, haha. Also the pencil I had used came from the Derwent Drawing set which puts down a creamy coat of colour that doesn't scratch or burnish the paper so it's easier to lift off than an ordinary coloured pencil.
After most of the green was gone I used my shading colour, Dark Indigo, to add some definition to the edges of the flowers then went over them with the white pencil again. The double leaves and the little berry thingies were shaded using my light blue and the shading colour. At the end I went in with a silver pen and added some embellishment to the design (as seen below). It turned out really nice! I may or may not add a background at some point but for now I'm really pleased with the result. This project took me one evening and an hour the next morning plus the time it took to photograph.
Wednesday, March 2, 2016
Blending stumps!
![]() |
Pages from Dagdrömmar and Color me Calm where I prepared the background using Polychromos and paper stumps. |
I get a lot of requests to explain about the paper stumps I so frequently use in my colouring projects. So here is a long overdue summary about this great tool! I personally find myself going more and more away from the colourless blender pencil, which I feel gives a more streaky and uneven finish, and using the paper stump more and more as I like the smooth smoky surface it gives. I have used it mainly for backgrounds in the past but nowadays I blend everything but the finest details with the paper stumps.
First of all, this is what they look like - a roll of cardboard with two pointy ends. You can find them in any art supply store and they are very inexpensive. I learned that there is a similar tool called a tortillon, which is hollow. These stumps are solid all the way through. I have never come across hollow tortillons in Sweden but you might want to know the difference if they are a thing in your country.
Like I shortly mentioned in my previous video, paper stumps are ideal for larger surfaces. But as they come in a variety of sizes, you can use them in quite detailed areas as well.
Depending on how much pigment you have laid down with your pencil, you can use a very light hand, barely grazing the paper, or a more heavy touch, when blening. If you have several layers of colour on the paper it's enough to just lightly go over the paper with the stump to get a nice smoky blend. The stumps will conceal some of the streakiness in your colouring, but the blending will be much nicer if you try to lay down the colour as evenly as possible. You can clearly see the difference in this closeup where the orange bits were quite haphazardly coloured whereas the surrounding blue parts were coloured much more carefully before blending.
You can also use your blending stumps together with blending agents such as Gamsol or vaseline. However I only use mine dry so I cannot say anything about those methods. If I ever get around to trying that I'll make an update post about it!
As you can see in the first photo I keep a stump roughly per colour family. However these guys require cleaning from time to time. This is done with a piece of fine-grained sandpaper which I picked up at a hardware store. I cut the sheet in smaller sized squares so they would fit into a drawer compartment in my desk.
Cleaning them like this will ensure they don't mess up your colour scheme and keep their point. If the point becomes too used up and frayed I just use a pair of scissors to cut it off then sharpen it again on the sandpaper. As the stumps are made of solid cardboard they will last a very long time. However if you find yourself with a pencil cup full of "dirty" paper stumps, you can create a craft project of its own and not let that precious pigment go to waste. One evening when I had no colouring inspiration I started scribbling on a blank sheet of sketching paper with a dirty stump. And before I knew it I had created this pastelly background that I can later fill with a drawing of some kind.
Below you will find a comparison closeup of two similar fields, the top one with no blending, just the layering of 2 Polychromos pencils, and the bottom one blended with a paper stump. And finally I enclose a short video that shows the layering and blending process. I hope this was helpful - Happy colouring!
Subscribe to:
Posts (Atom)